- TEL : 01277 890 783
- EMAIL : sales@southgatetimber.co.uk
- Collections Monday to Friday 9:00 - 16:00






 Profiles
 Fast and friendly delivery service
 Samples available
 Click & Collect



-
-
-
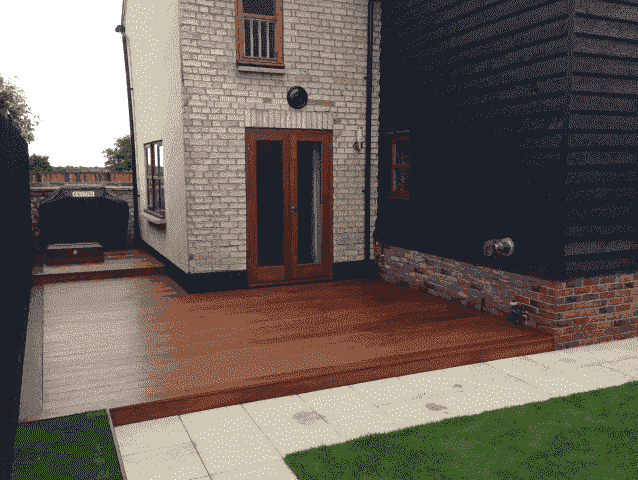
IPE Hardwood Decking ***FSC®***
-
-
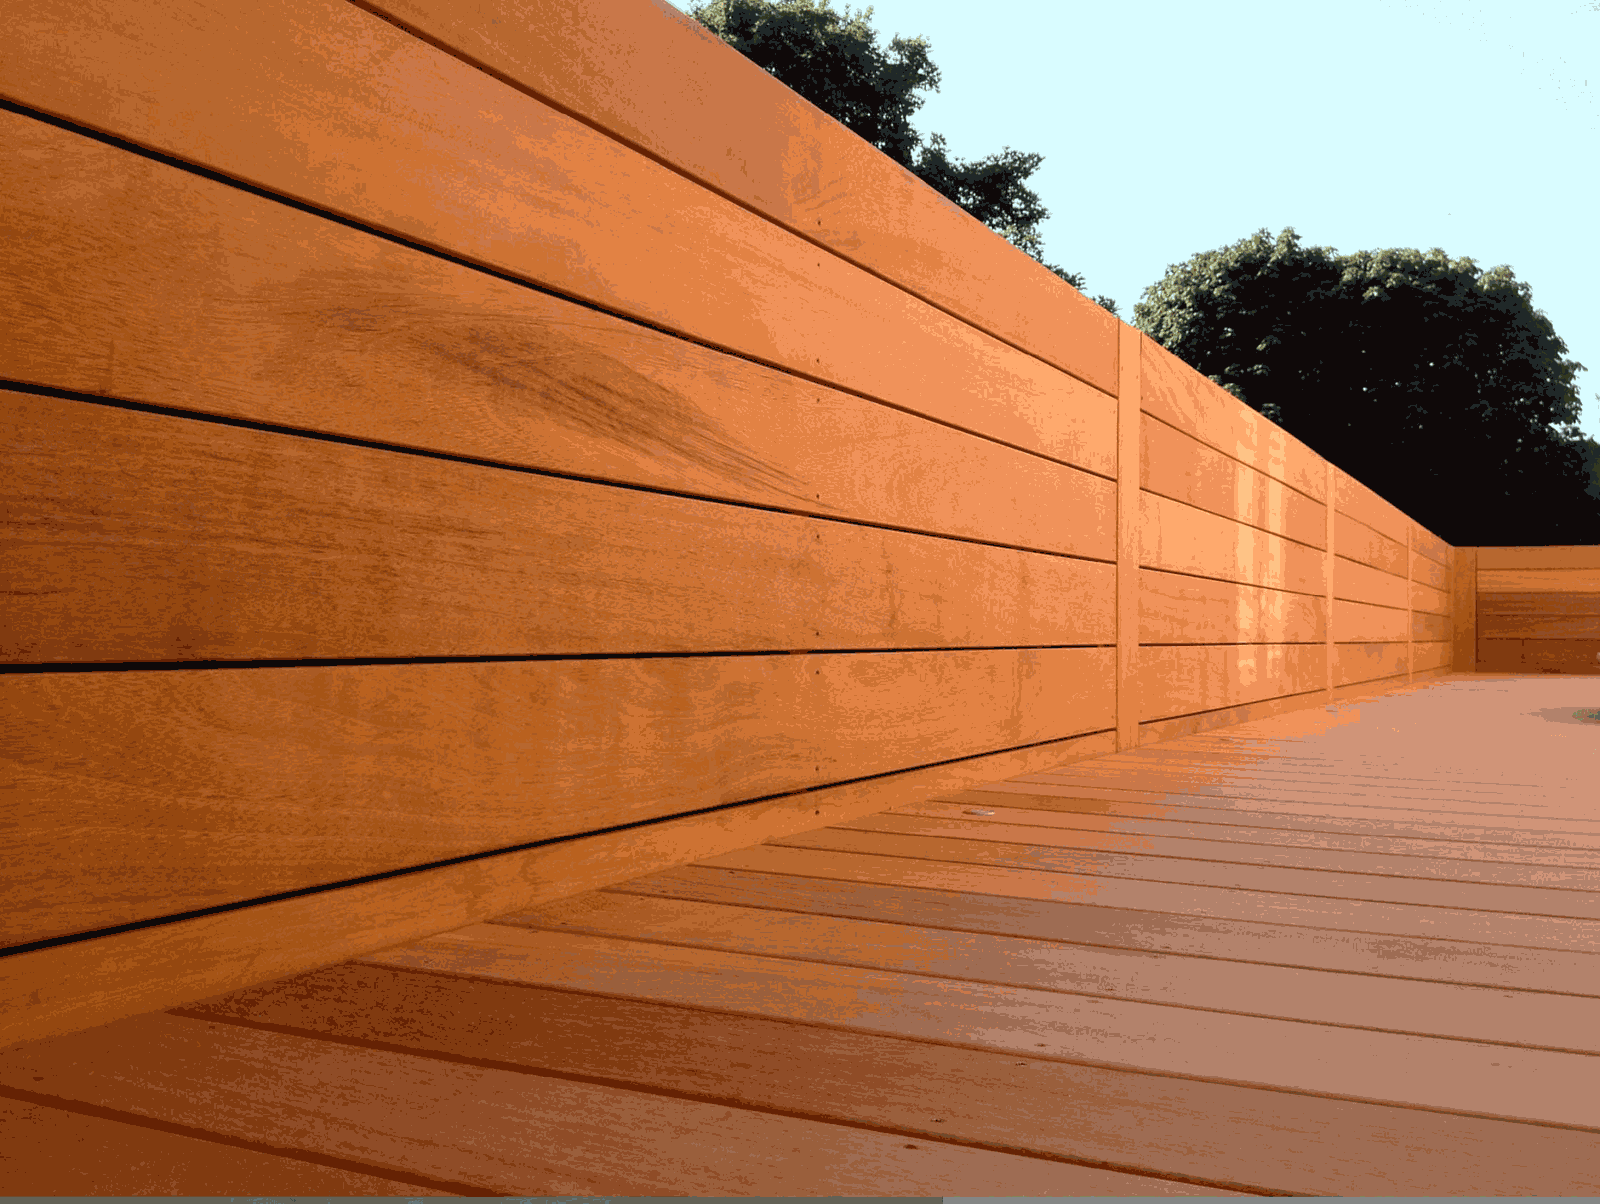
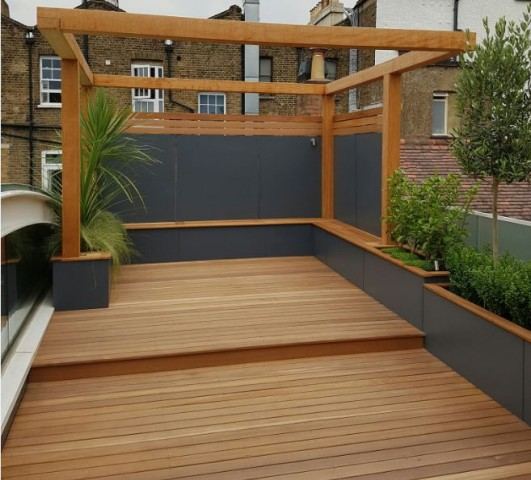
Iroko Hardwood Decking
-
-
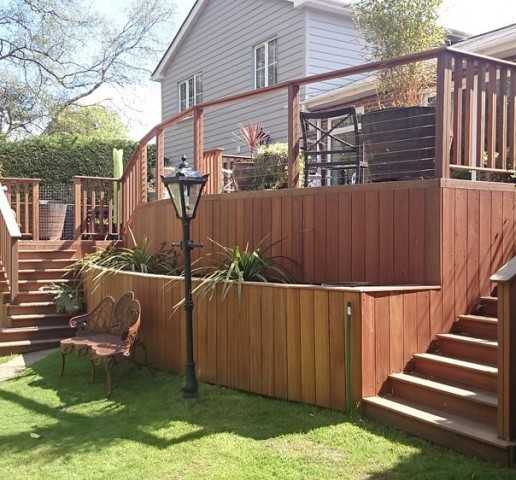
Yellow Balau Hardwood Decking ***FSC®*** & SVLK
-
-
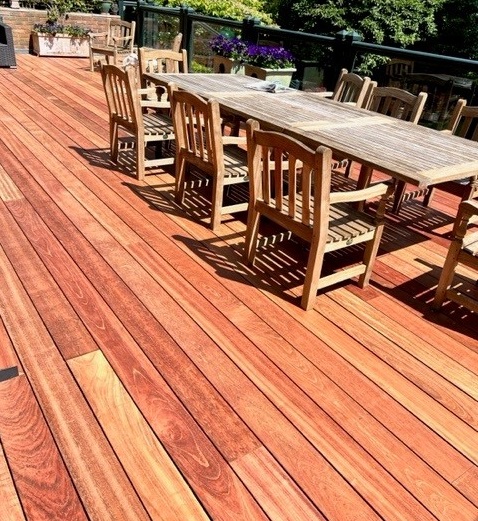
Yellow Balau Hardwood Components SVLK
-
-
Jatoba Hardwood Decking ***FSC®***
-

-
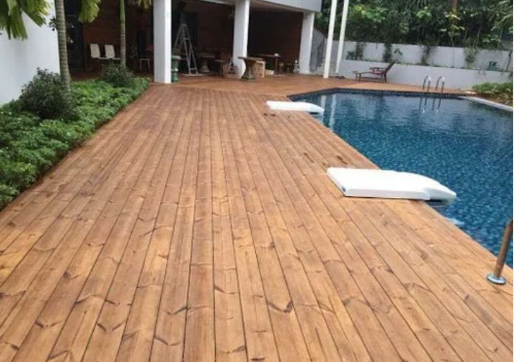
Thermory Benchmark Thermo-Ash Decking
-
-
Thermowood Pine Decking PEFC
-
-
Tali Hardwood Decking ***FSC®***
-
-
Thermory Spruce Decking PEFC
-
-
-
-
Western Red Cedar Cladding PEFC
-
-
Cedar Shingles & Ridge Tiles PEFC
-
-
Cedral Cement Board Cladding
-
-
Larch Cladding ***FSC®*** & PEFC
-
-
Douglas Fir Cladding PEFC
-
-
Thermo Ayous Cladding
-
-
Thermowood Pine Cladding PEFC
-

-
Black Cladding PEFC
-

-
Far Eastern Hardwood Cladding PEFC & SVLK
-

-
Thermory Radiata Pine Cladding ***FSC®***
-
-
Thermory Thermo-Ash Cladding
-

-
Thermory Thermo-Ash Decor Rhomb Tiles Internal
-
- SAUNA
- SLEEPERS
-
-

-
Osmo Treatment & Accessories
-

-
Owatrol Treatment & Accessories
-

-
Thermory Treatment & Fixings
-
-
Deckwise Hidden Fixings & Accessories
-
-
Decking Accessories
-
-
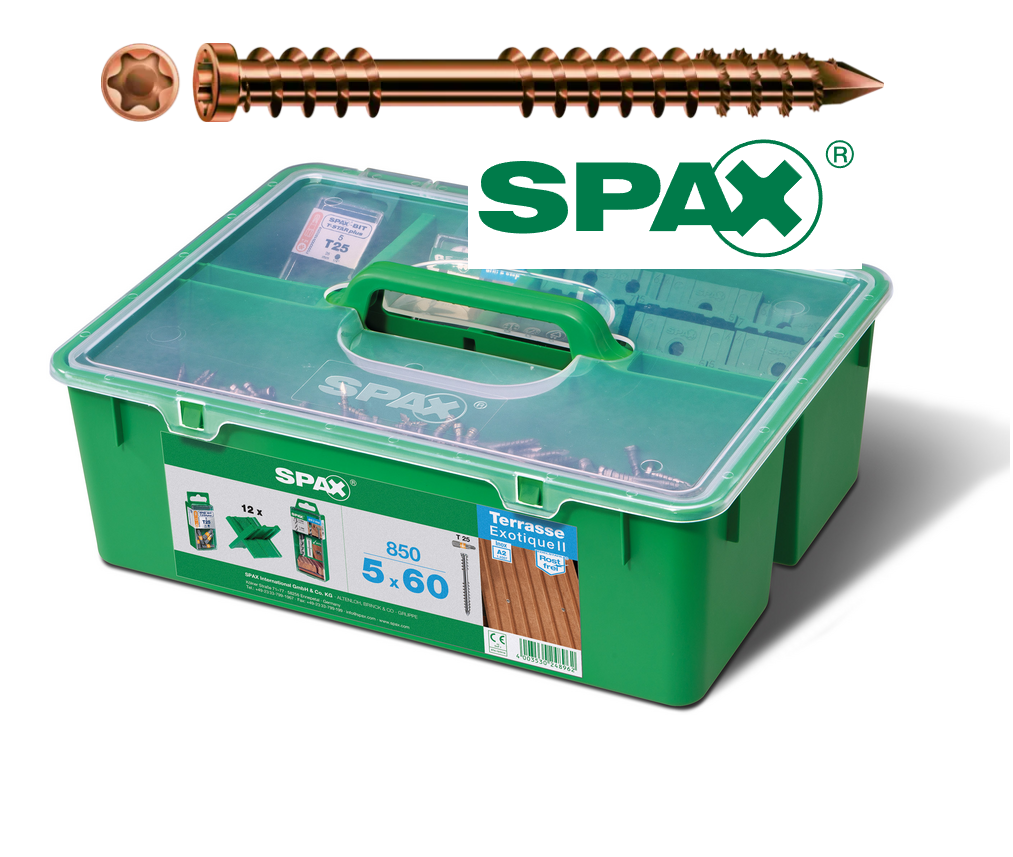
Spax Specialist Decking Screws
-

-
Spax Stainless Steel Facade Screws
-

-
Spax Construction Screws
-

-
Stainless Steel Nails
-
-
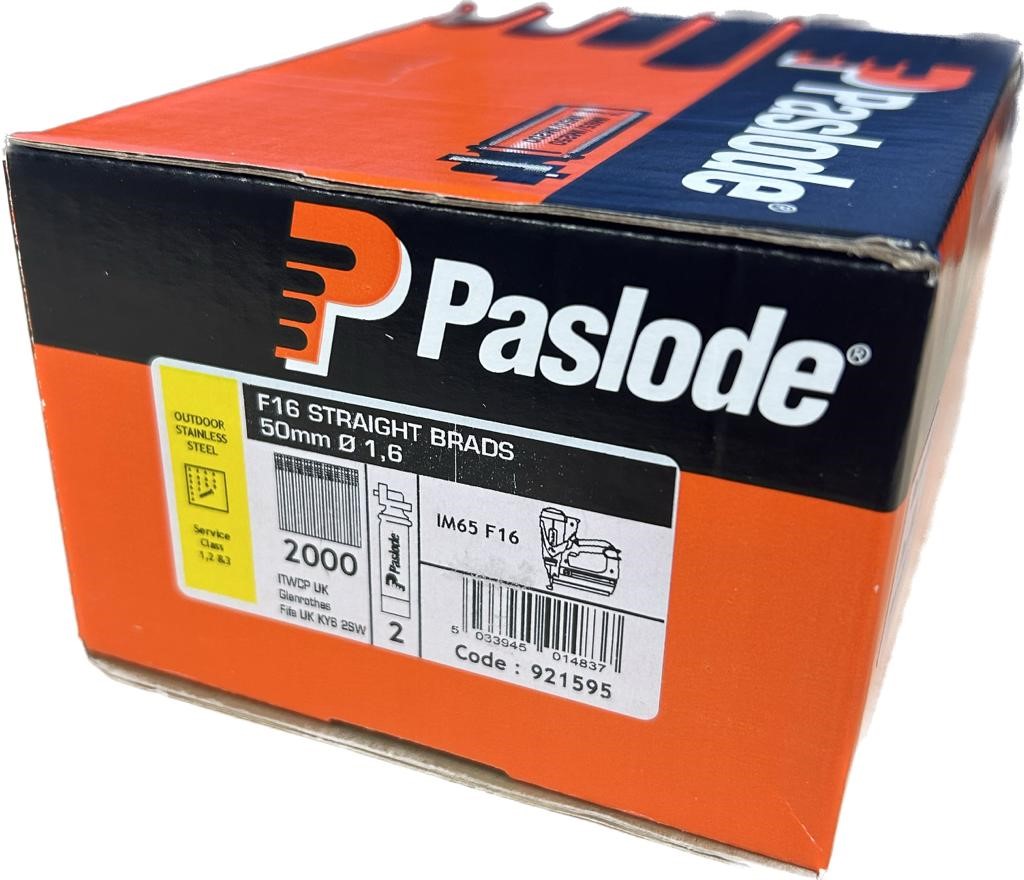
Paslode Stainless Steel Brads
-
-
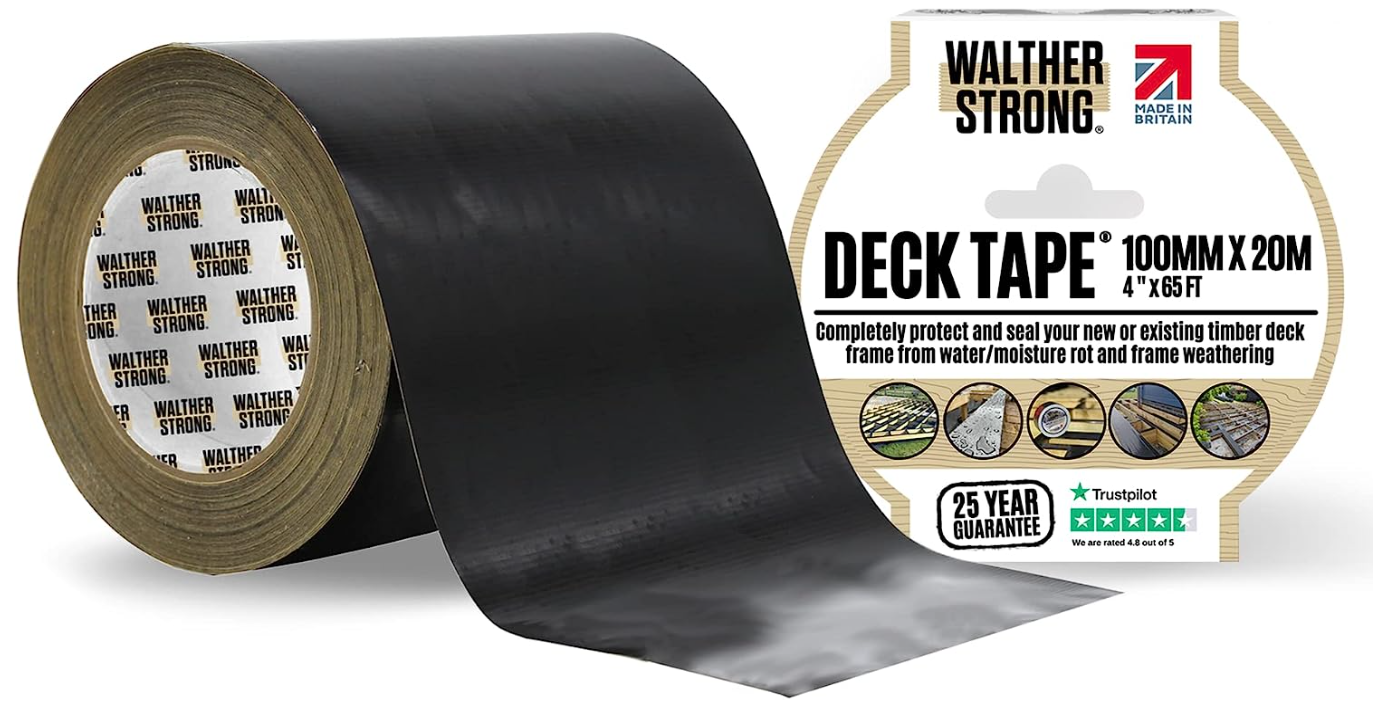
Walther Strong Deck Tape
-
-
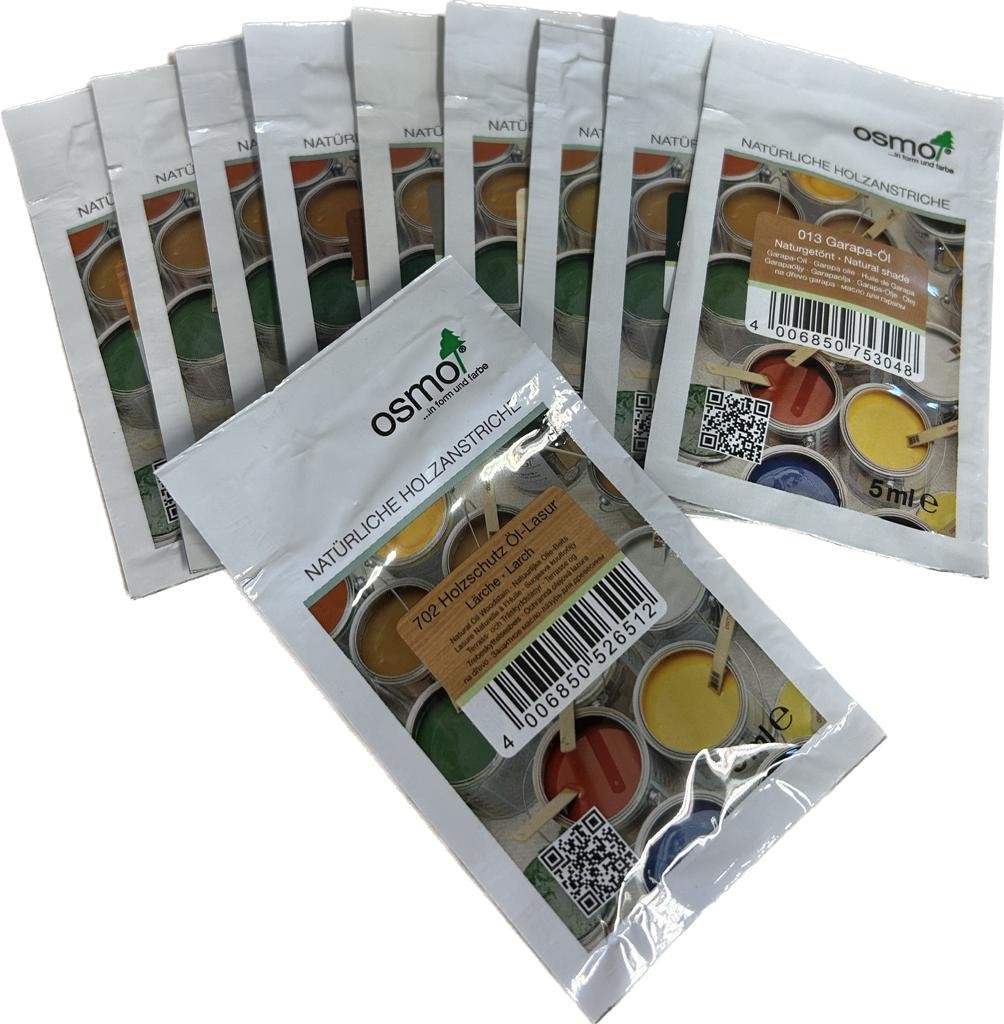
Treatment Samples
-
-
Brushes & Application Tools
-
-
Drive Bits Router Bits & Plug Cutters
-
-
Cedral Accessories
-
- SAMPLES

How To Replace A Broken Decking Board In A Hidden Fix Deck

by
Southgate Timber
September 04, 2024


When considering hidden fixings for decking installation, one of the biggest concerns customers have is what happens if a board in the middle of the decking becomes damaged? Replacing a single broken decking board is a simple yet crucial task to maintain the beauty and safety of your deck. Over time, hardwood decking can experience damage, and addressing a broken board promptly not only keeps your deck looking great but also prevents potential hazards. Replacing a single plank secured with invisible fixings can seem challenging due to the screws being hidden. However, by following these simple steps, you can efficiently replace a broken board in your hidden fix deck.
Step 1: Assess the Damage
Take a close look at your deck to identify the board that needs replacement. Check for cracks, splits, or signs of rot. Sometimes, a board may appear damaged on the surface but still be structurally sound underneath, so make sure the board truly needs replacing before you begin.
Step 2: Cut the Damaged Plank
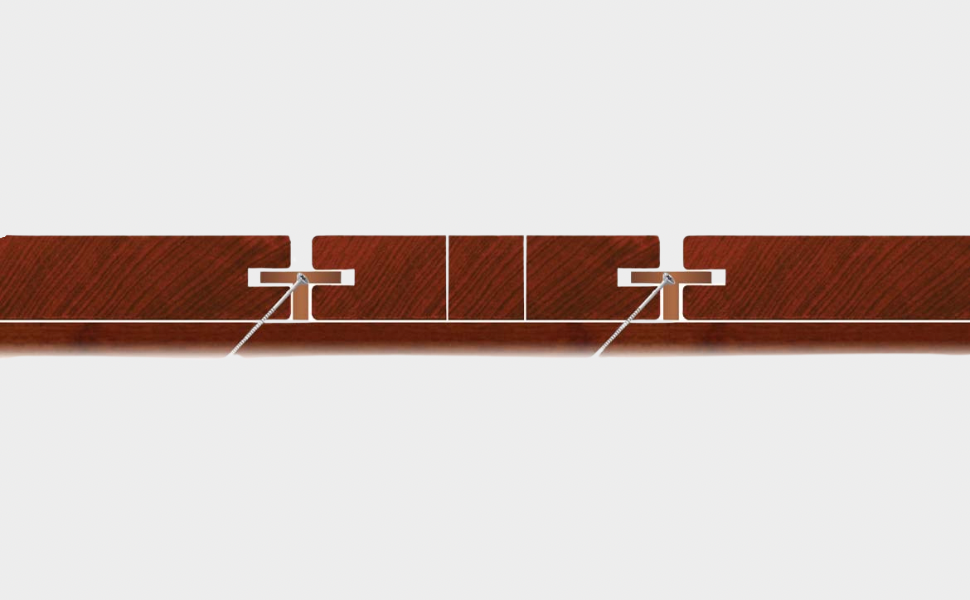
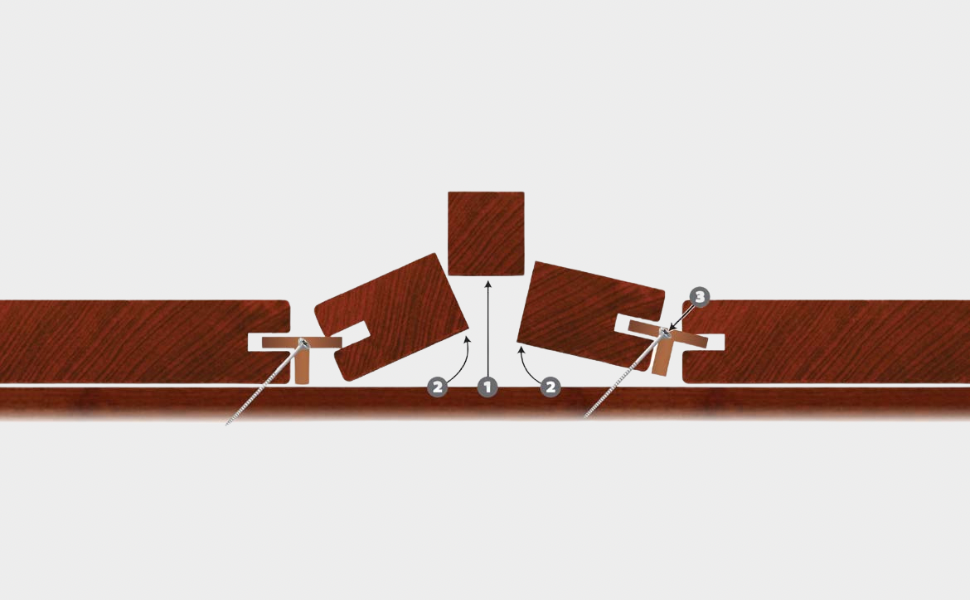
Then, it’s time to begin extracting. The first step into removing your damaged plank is to use a circular hand saw to cut a piece down the centre of the plank, making it easier to remove.
 Step 3: Remove and Unscrew
After having cut the centre of the plank, removing the board should be a lot simpler. You can start by removing the centre piece out that you cut in the previous step. This piece will be easy to remove as you’ve cut it away from any part that’s secured down. Once the centre part is gone, you can easily gain access to the side sections, one being secured down with the screw running through it. Extract both side sections, removing the hidden clip with it. Be cautious you may need to pry out the side that’s screwed down, and if the screw happens to break during this process, hammer it flat until flush.
Step 4: Install New Screws
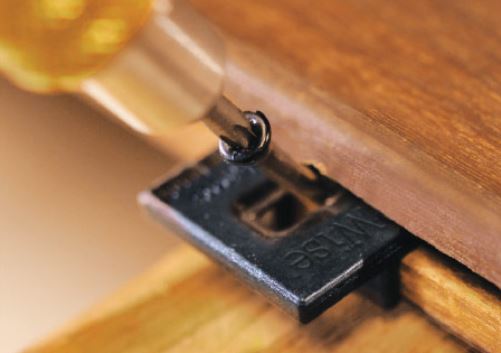
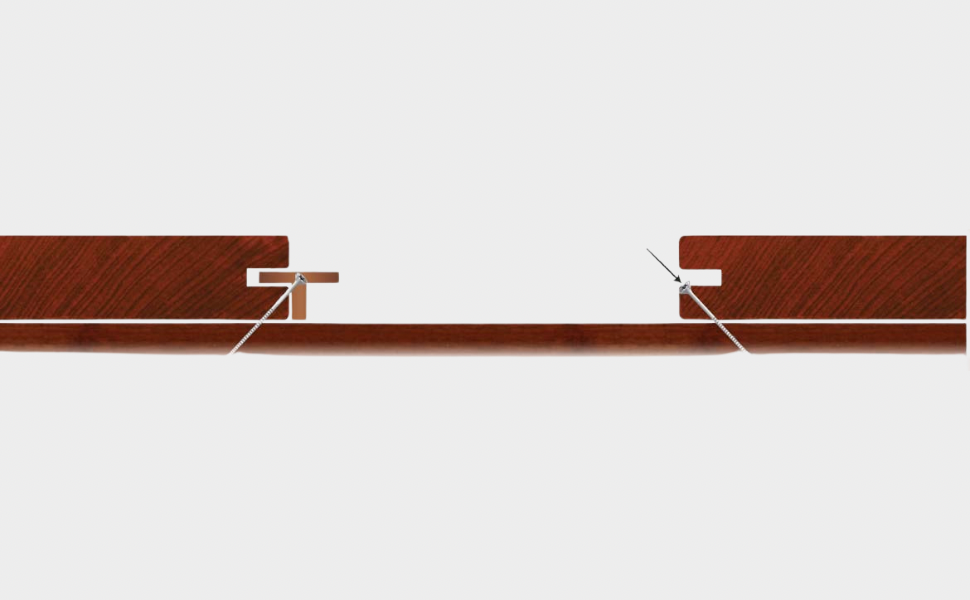
To re-secure the adjoining board on the side you removed the hidden fixing from, you need to insert a new screw at a 45° angle into the side slot where the clip was removed. When doing this, it’s important you make sure not to over-tighten the screw as this could result in a crack or break in the grooved edge.
Step 5: Measure and Cut the Replacement Board
Measure the length of the gap left by the removed board to ensure your replacement board is the correct size. If the new board is too long, use a saw to trim it to the appropriate length. Ensure the new board matches the width and thickness of the old one to maintain a uniform appearance.
Step 6: Slide in the New Board
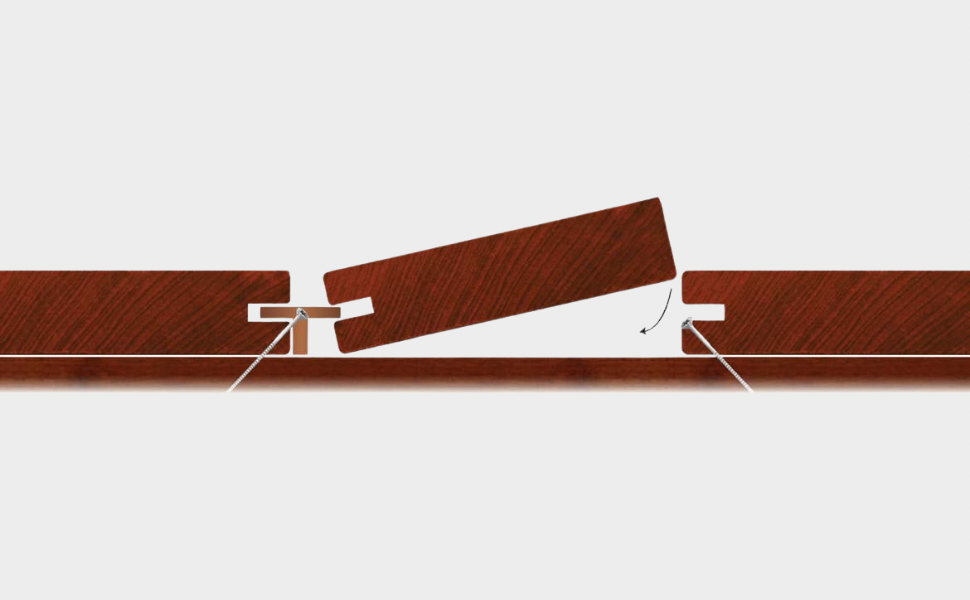
Carefully slot in the new plank. Using a board with a groove on one side is ideal as you can slide the grooved side into the exposed hidden clip.
Step 7: Secure the New Board
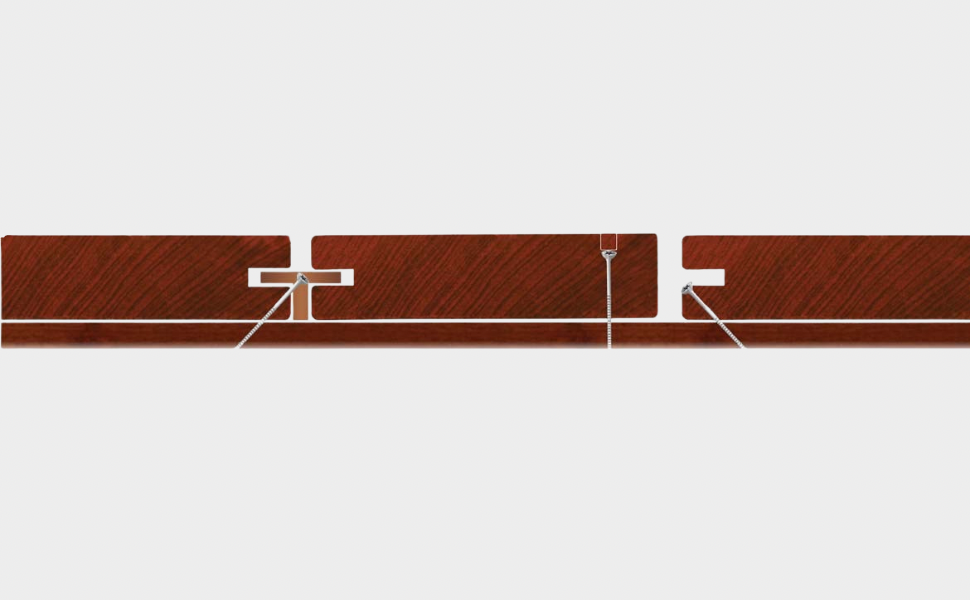
To secure the side that doesn’t have a hidden fix clip attached, pre-drill and countersink a new screw hole on that side by drilling straight down into the plank. Use a screw to secure the board down and then for a clean, seamless finish, cover the screw with a matching timber plug.
 Step 8: Finishing Touches
After securing the new board, inspect the deck for any rough edges or uneven surfaces. If necessary, sand down the edges of the new board to ensure a smooth transition with the surrounding boards. If needed, you can apply the matching stain or finish to the new board to blend it in with the rest of the deck.
Replacing a single broken decking board when the screws are inaccessible is a manageable task that can be completed with basic tools and a little time. By addressing damage promptly and ensuring the replacement board matches the existing deck, you can keep your outdoor space looking its best for years to come.

General


