- TEL : 01277 890 783
- EMAIL : sales@southgatetimber.co.uk
- Collections Monday to Friday 9:00 - 16:00


 Click & Collect


-
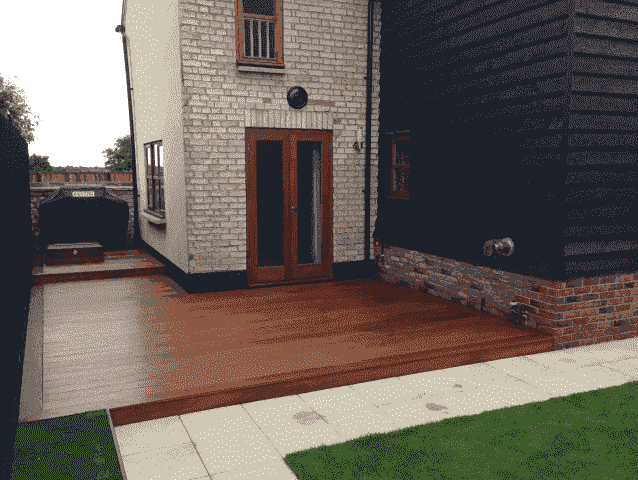
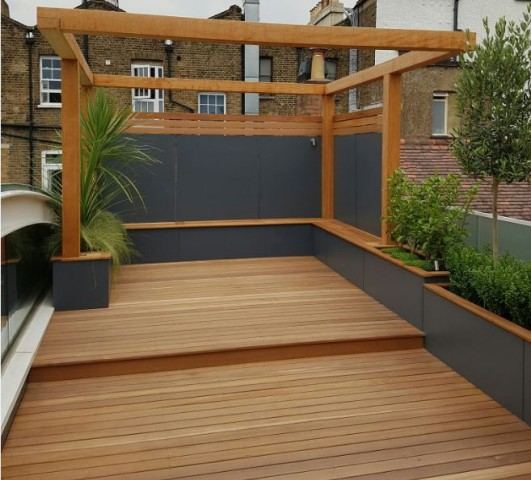
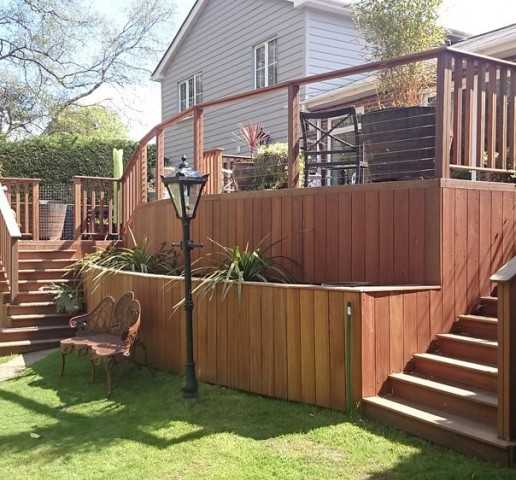
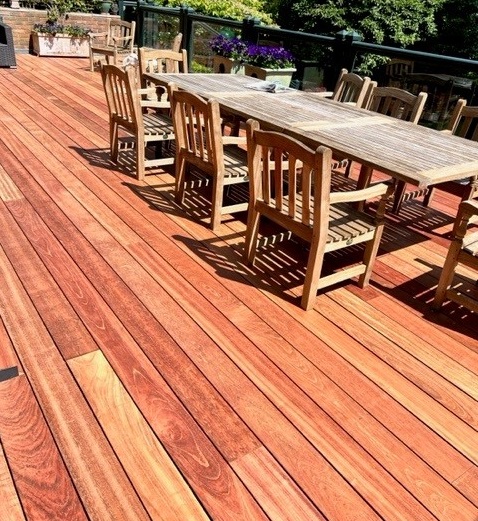
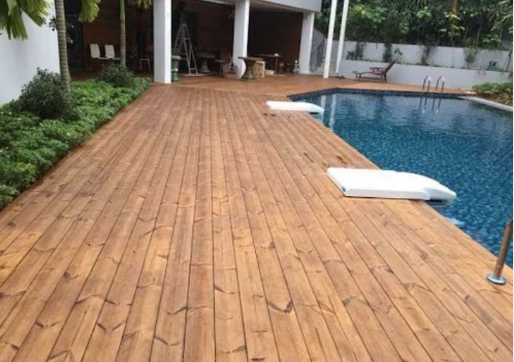
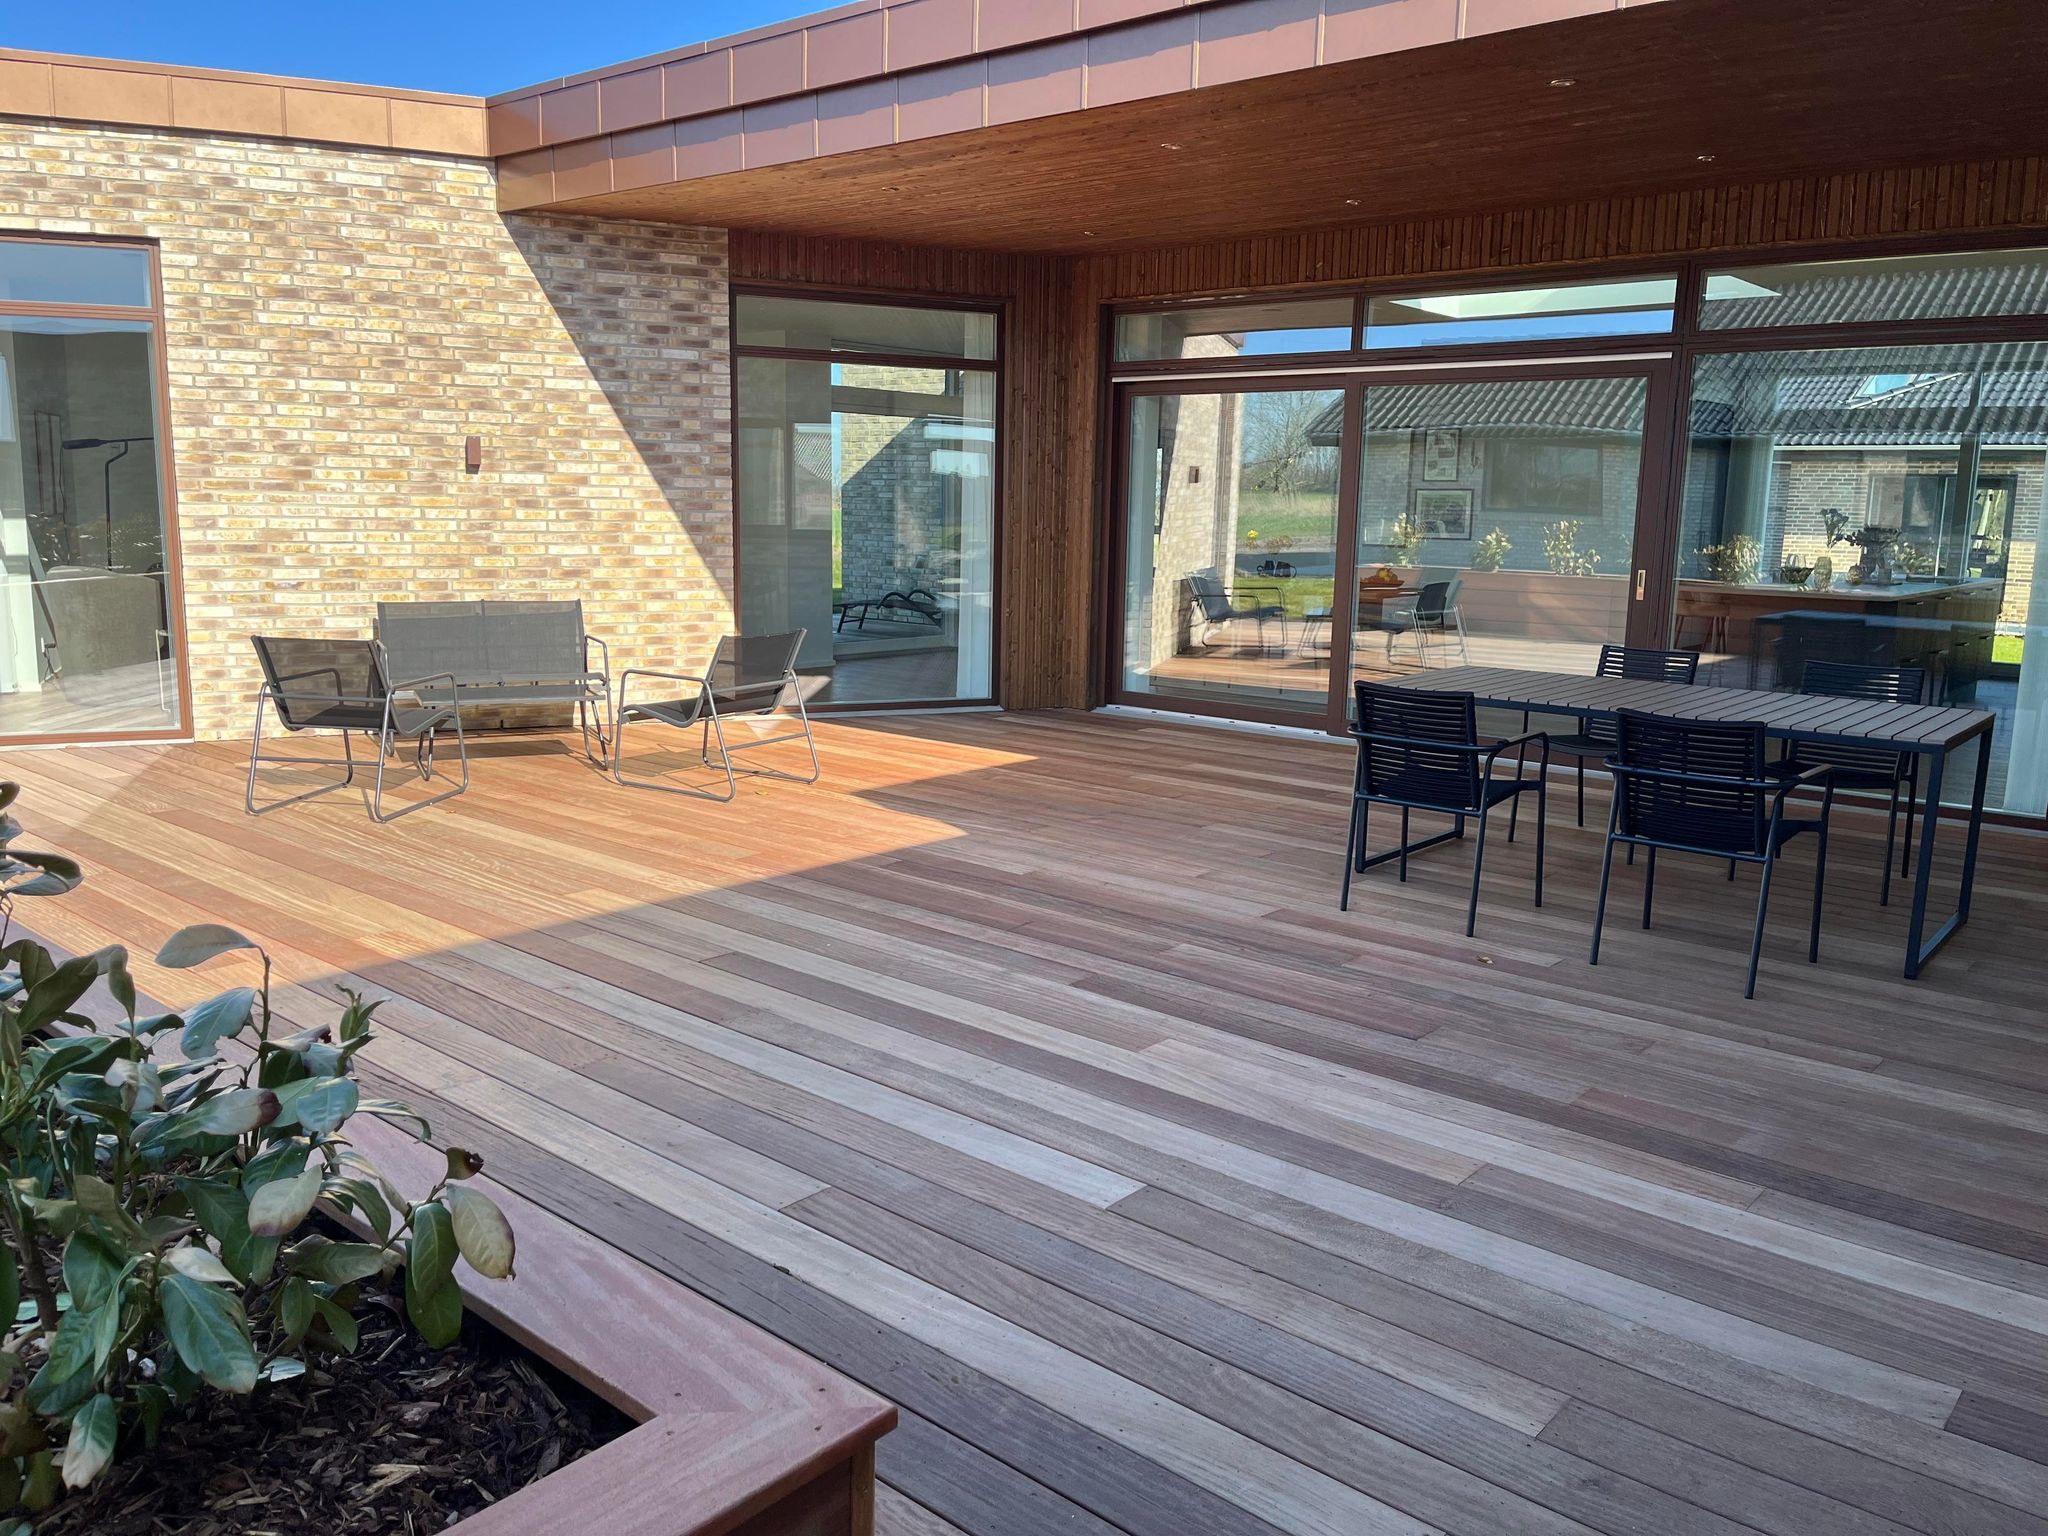
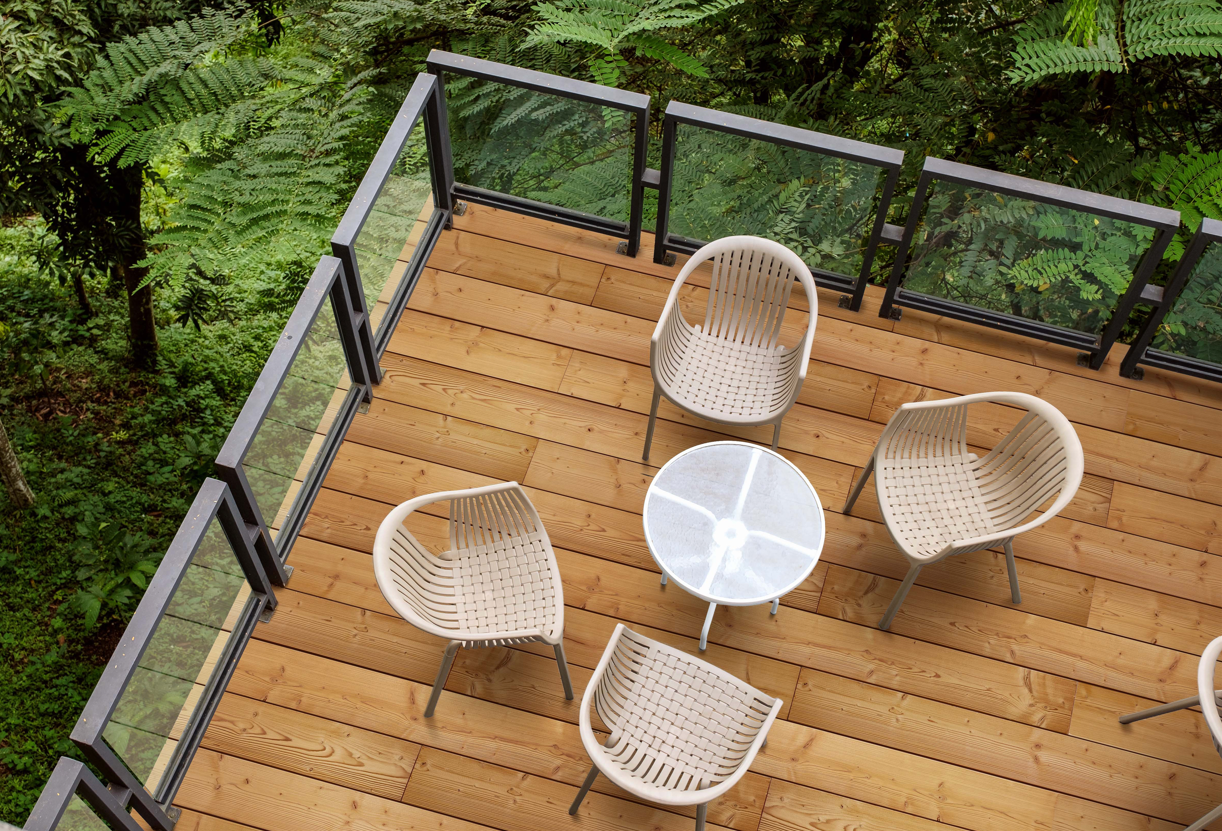
DECKING
-
-
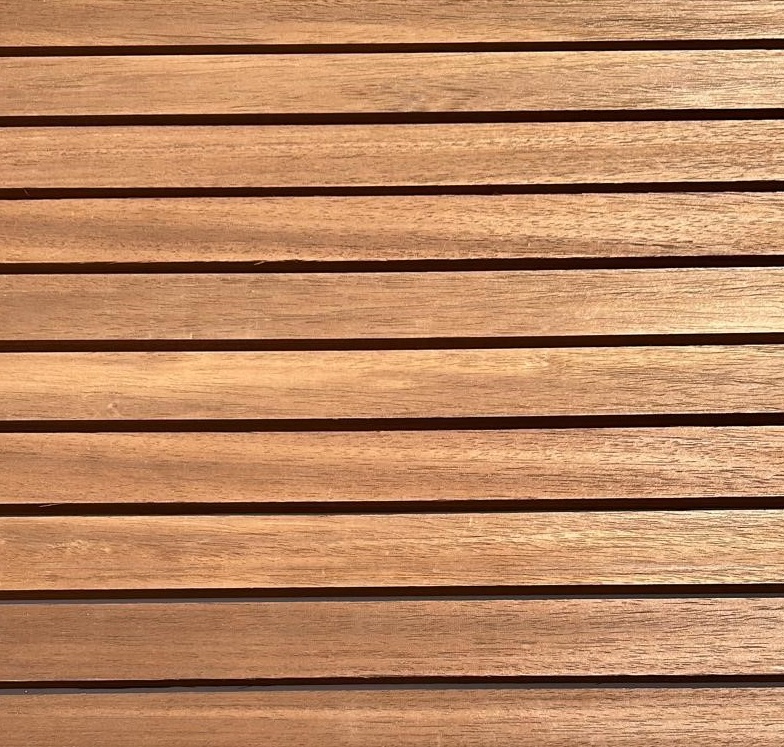
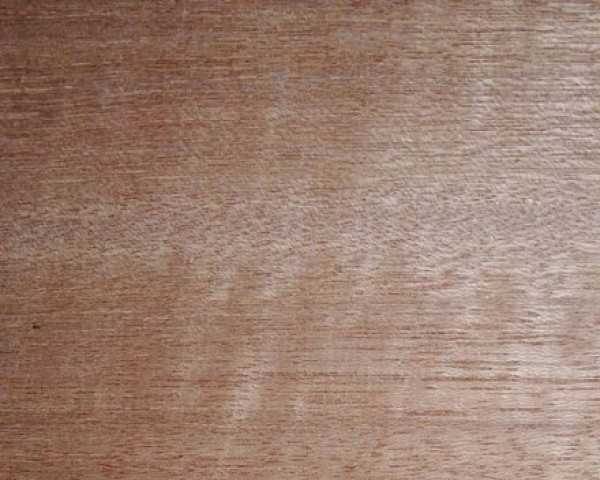
IPE Hardwood Decking ***FSC®***
-
-
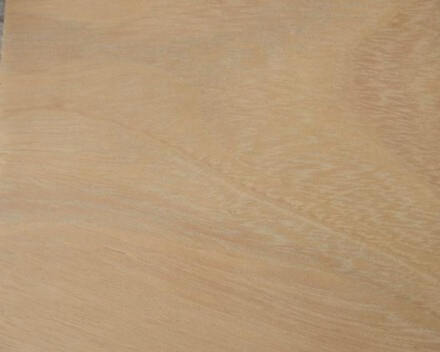
Iroko Hardwood Decking
-
-
Yellow Balau Hardwood Decking ***FSC®*** & SVLK
-
-
Yellow Balau Hardwood Components SVLK
-
-
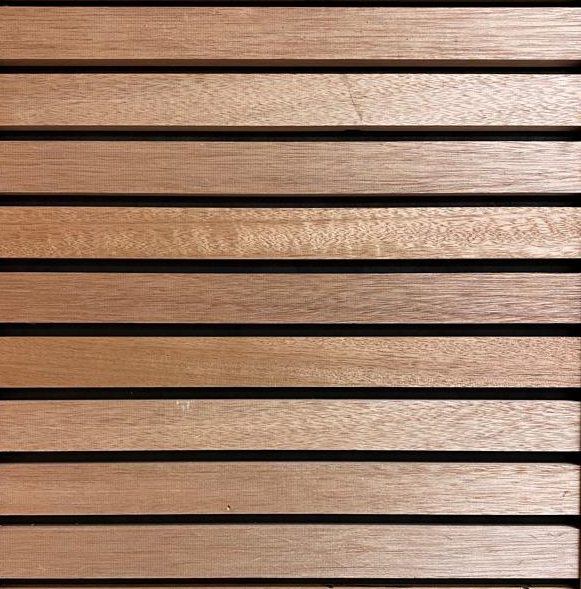
Jatoba Hardwood Decking ***FSC®***
-

-
Thermory Benchmark Thermo-Ash Decking
-
-
Thermowood Pine Decking PEFC
-
-
Tali Hardwood Decking ***FSC®*** COMING MARCH 2026
-
-
Thermory Spruce Decking PEFC
-
-
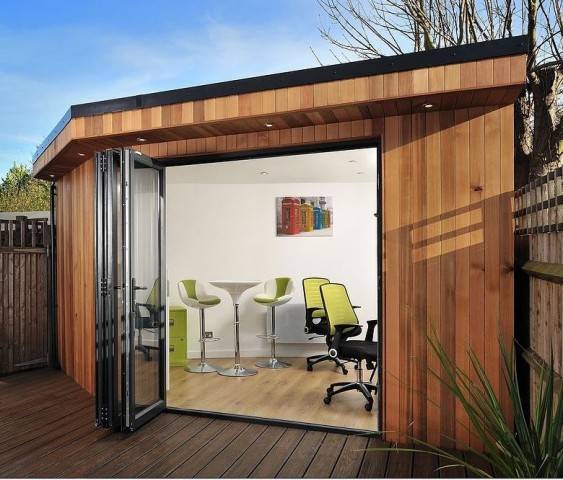
CLADDING
-
-
Western Red Cedar Cladding PEFC
-
-
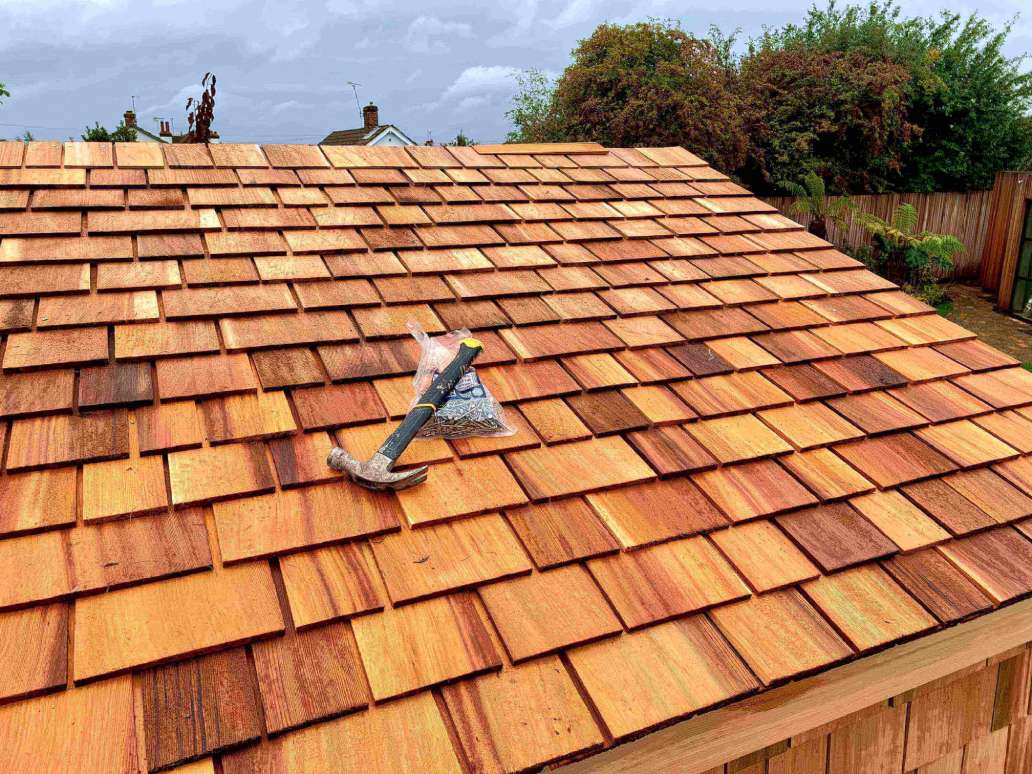
Cedar Shingles & Ridge Tiles PEFC
-
-
Cedral Cement Board Cladding
-
-
Larch Cladding ***FSC®*** & PEFC
-
-
Douglas Fir Cladding PEFC
-

-
Thermo Ayous Cladding
-

-
Thermowood Pine Cladding PEFC
-
-
Black Barn Cladding PEFC
-

-
Far Eastern Hardwood Cladding PEFC & SVLK
-

-
Thermory Radiata Pine Cladding ***FSC®***
-
-
Thermory Thermo-Ash Cladding
-

-
Thermory Thermo-Ash Decor Rhomb Tiles Internal
-
- FENCING / PAR
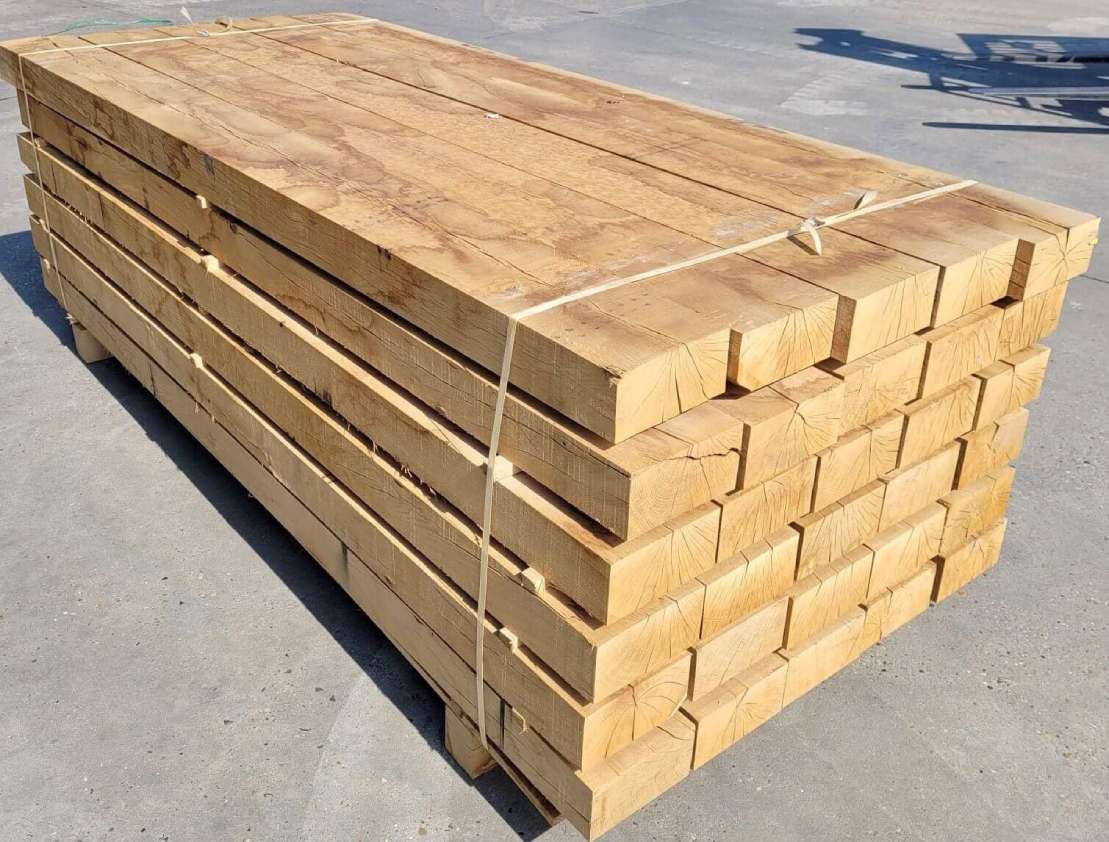
- SLEEPERS
-
FIXINGS & TREATMENT
-
-
Osmo Treatment & Accessories
-

-
Owatrol Treatment & Accessories
-
-
Deckwise Hidden Fixings & Accessories
-

-
Thermory Treatment & Fixings
-

-
Exclusive Bundle Deals
-

-
Spax Specialist Decking Screws
-

-
Spax Stainless Steel Facade Screws
-

-
Spax Construction Screws
-

-
Decking Accessories
-

-
Stainless Steel Nails
-
-
Paslode Stainless Steel Brads
-
-
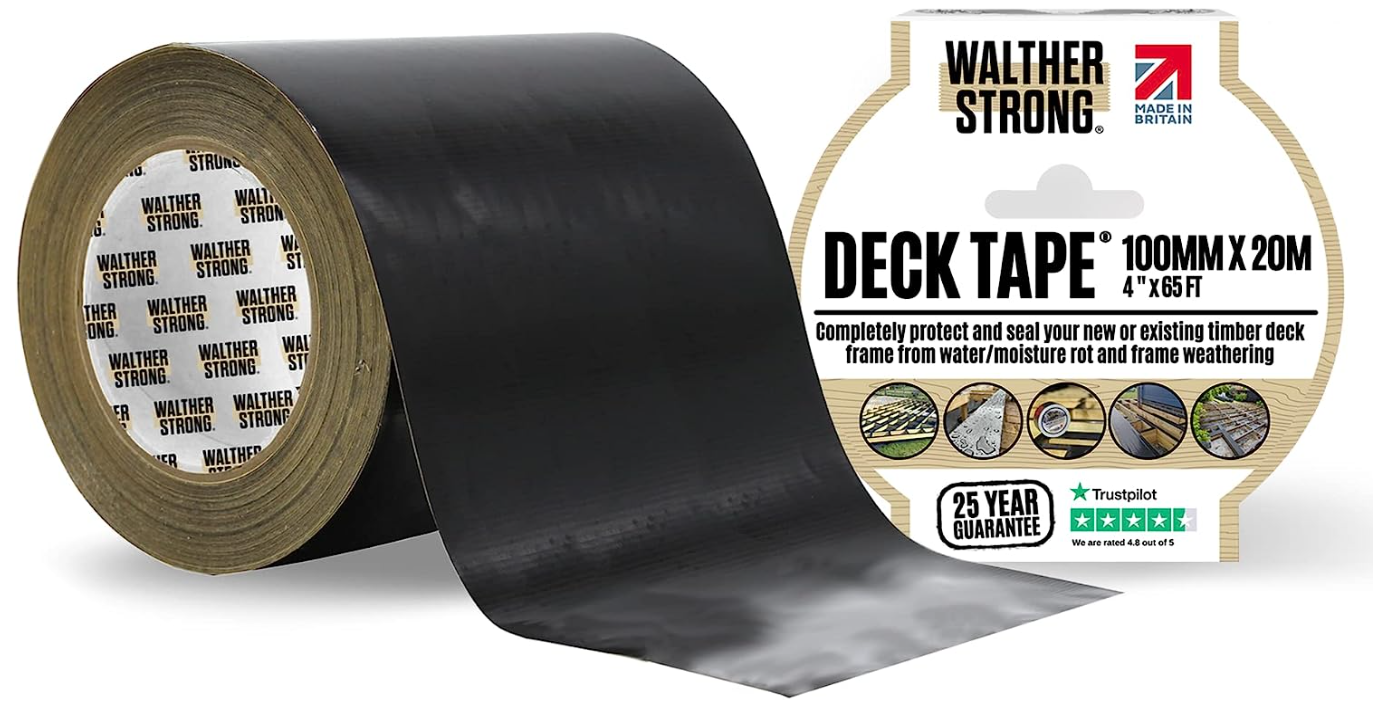
Walther Strong Deck Tape
-

-
Treatment Samples
-

-
Brushes & Application Tools
-

-
Drive Bits Router Bits & Plug Cutters
-

-
Cedral Accessories
-
- MOULDINGS
- SAWN
- Decking & Screw Calculator
- Contact Us
- Gallery

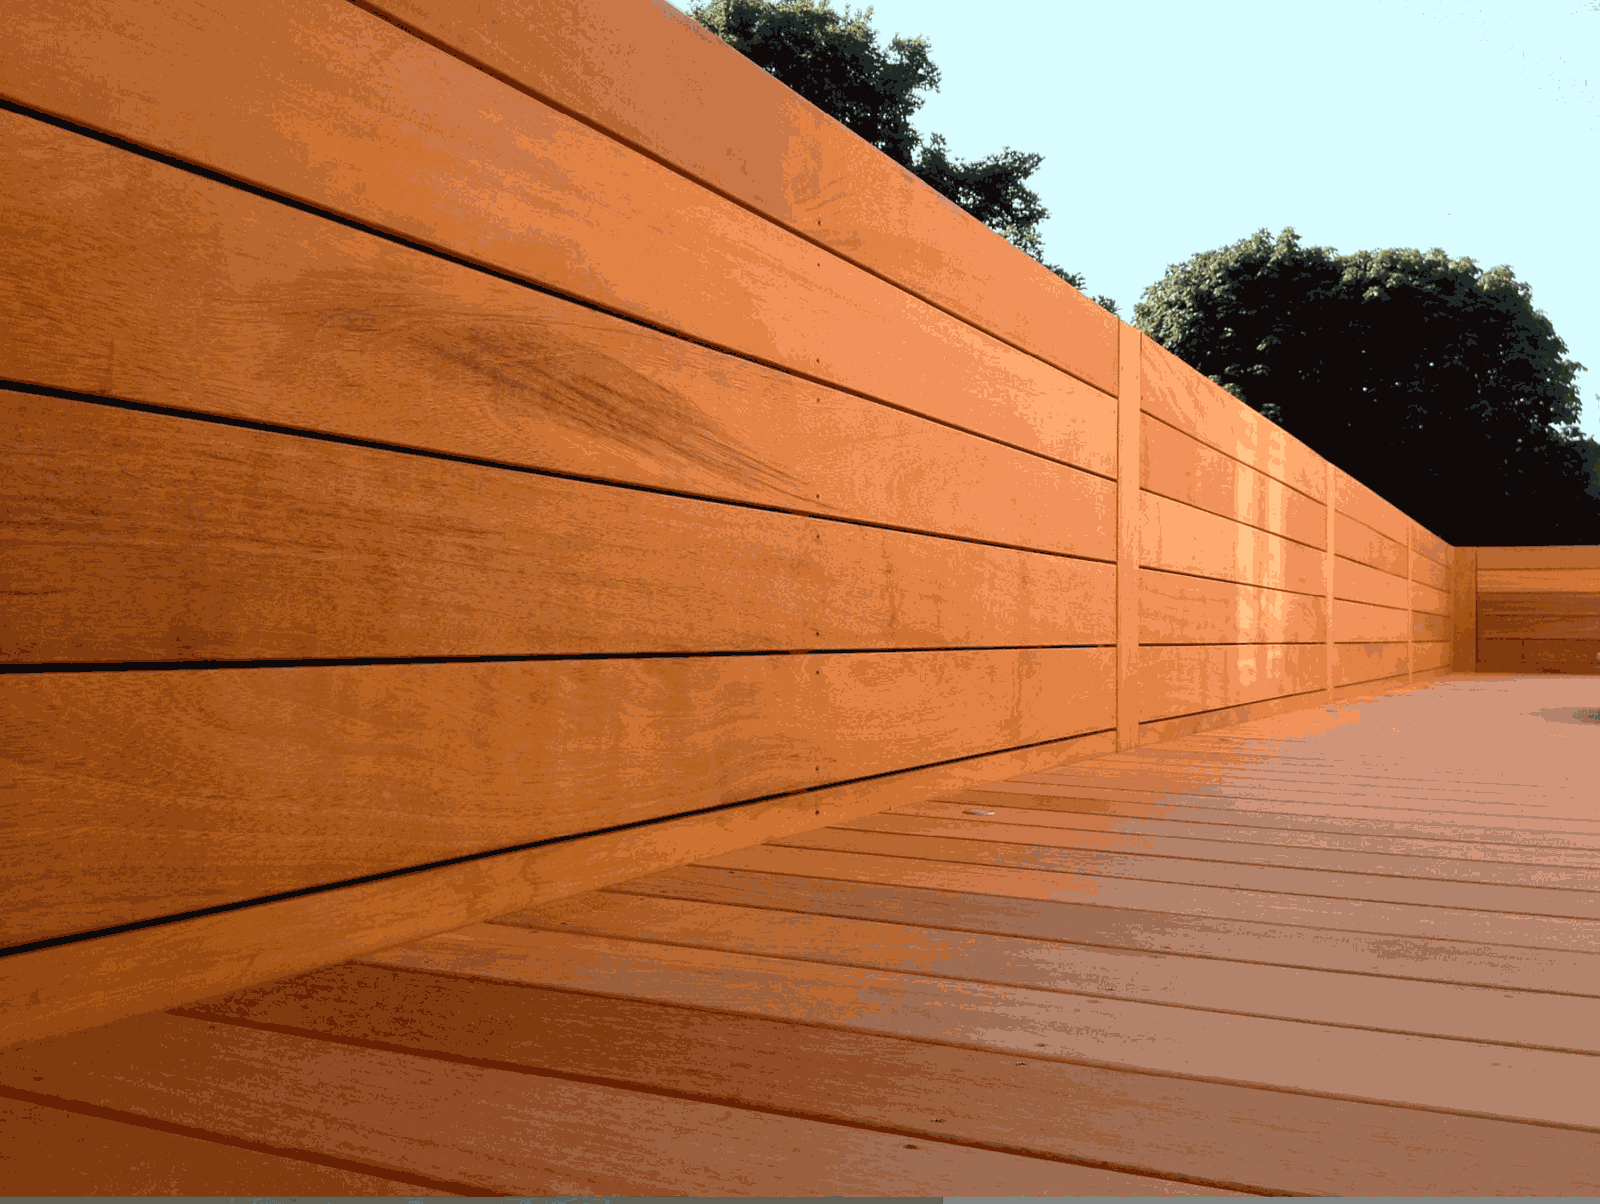
A Beginner’s Guide to Building Your Own Timber Fence Using P.A.R Battens
by
Southgate Timber
June 05, 2025
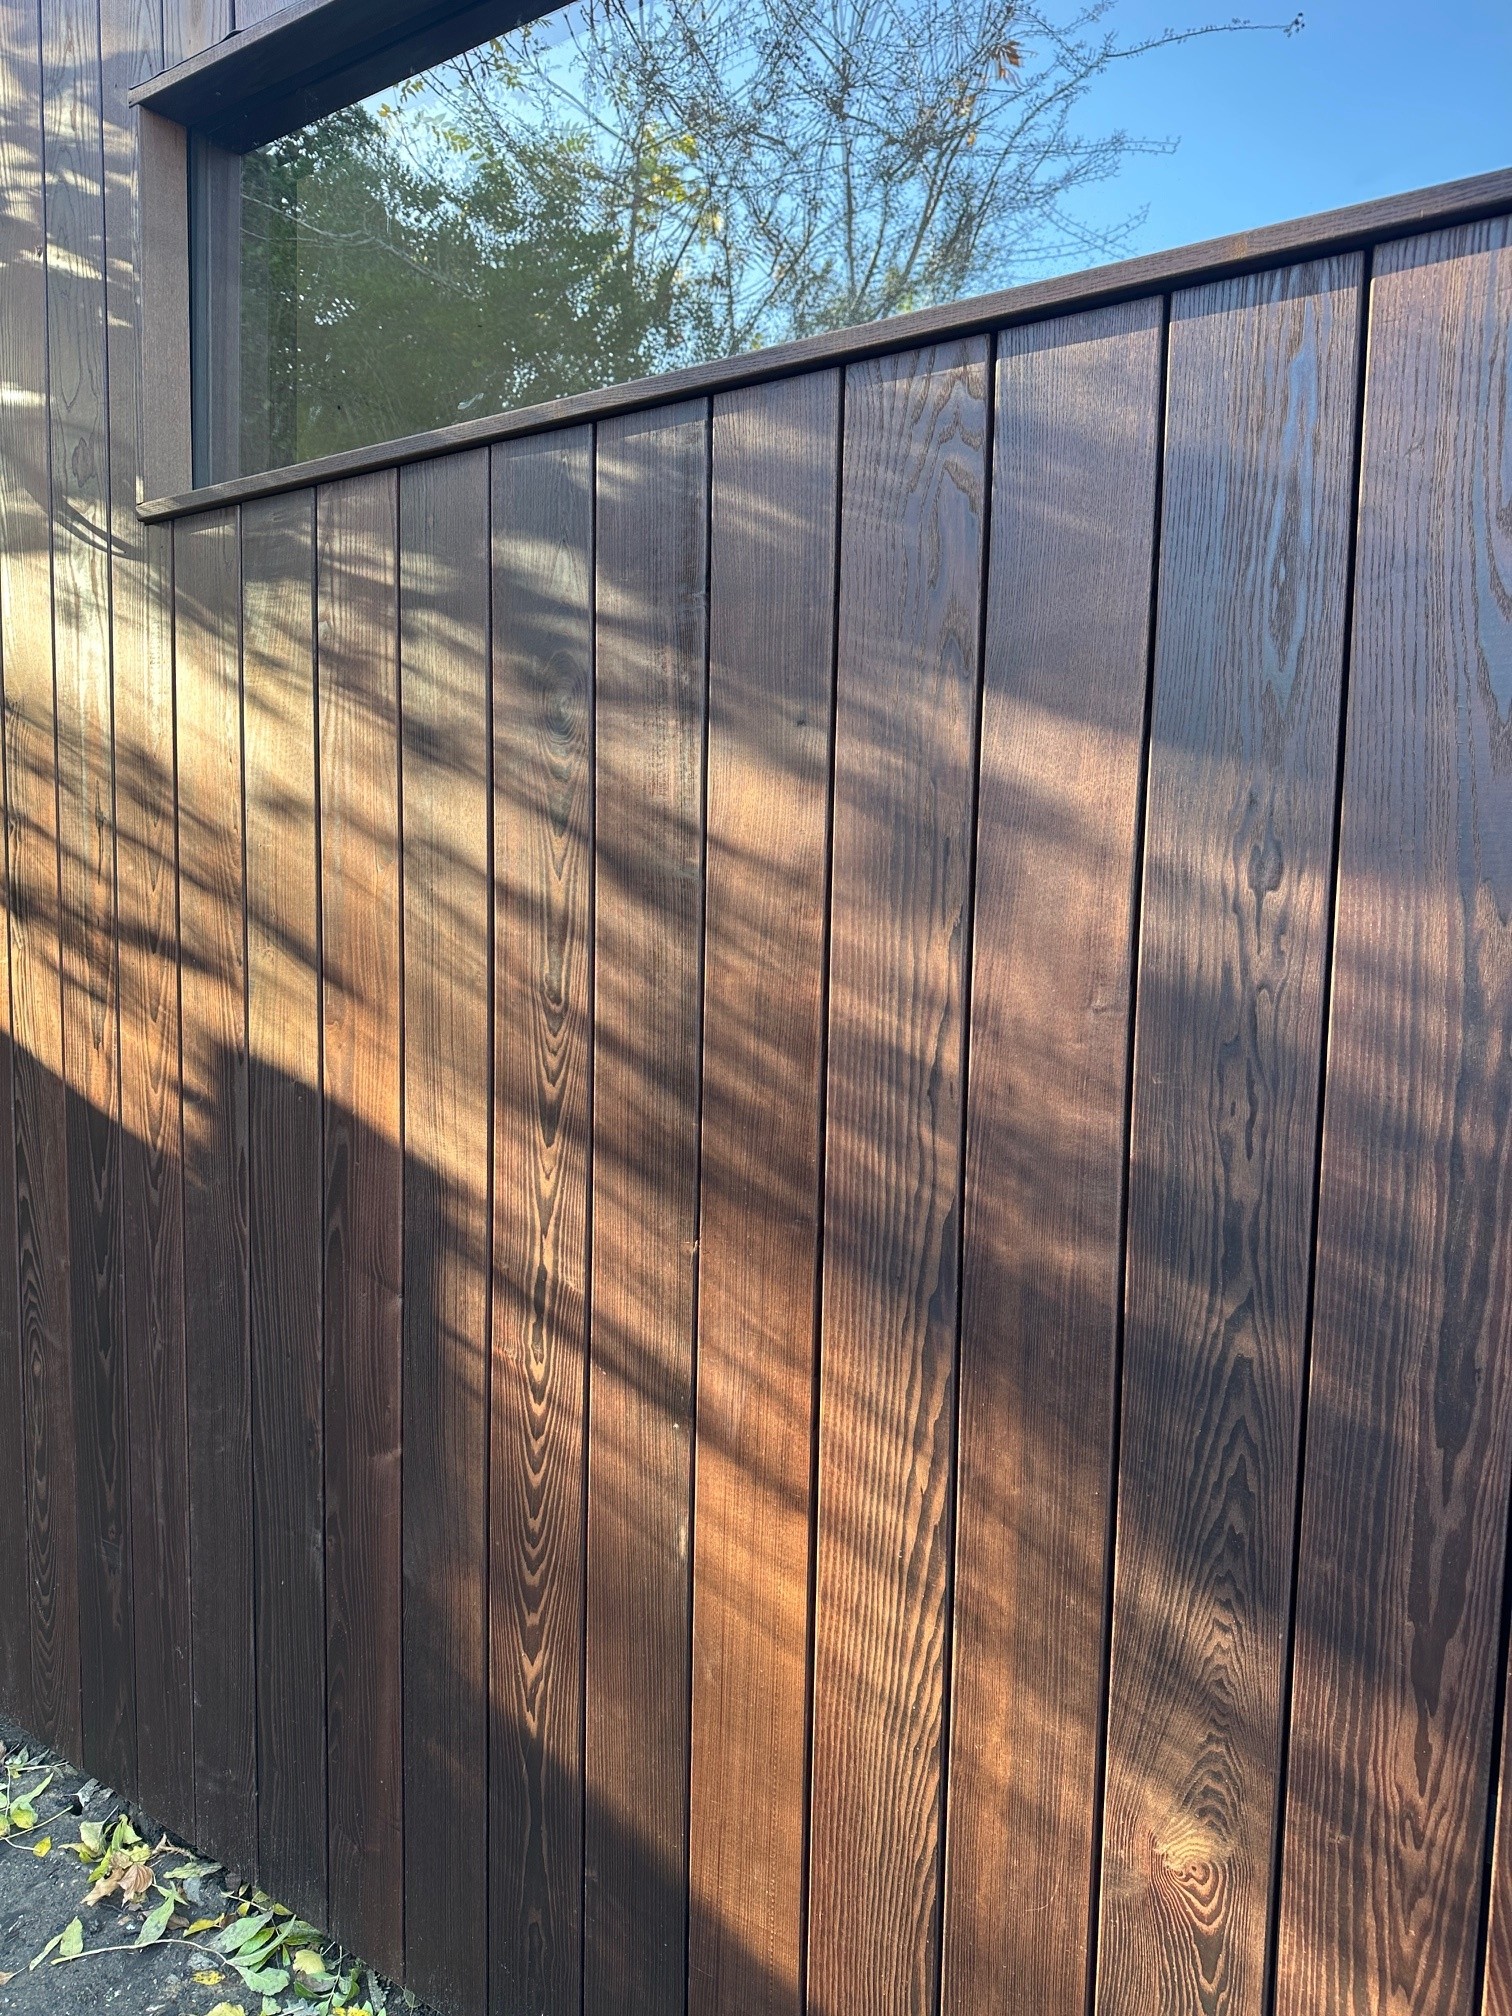
Thinking of building your own garden fence? Whether you’re after a clean modern look or something simple and functional, using high-quality P.A.R (Planed All Round) battens is a great place to start. At Southgate Timber, we specialise in premium timber battens that are ideal for fencing projects – especially when you’re aiming for precision, strength, and great aesthetics.
Here’s your step-by-step guide to getting the job done right.
Step 1: Plan Your Fence Layout
Start by measuring your boundary and sketching your design. Decide on:
- Fence height
- Post spacing (typically 1.8m)
- Whether you’re building a slatted or full privacy fence
Use a string line and pegs to mark out your line.
Step 2: Choose the Right Timber
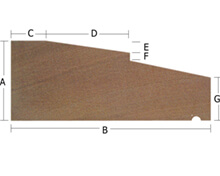
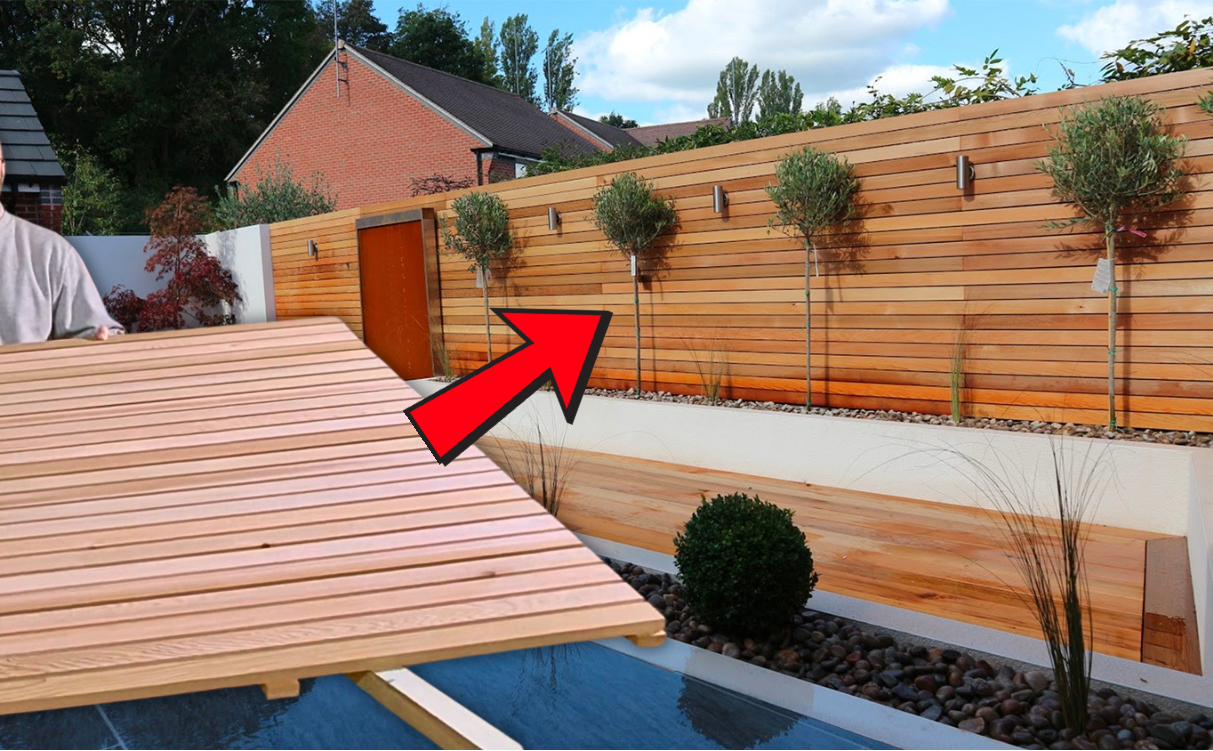
All of our fencing battens are P.A.R, meaning they’re smooth, straight-edged, and planed on all four sides for a clean, modern look. This makes them perfect for:
- Slatted fencing
- Contemporary horizontal or vertical fences
- Screens and dividing panels
Popular profiles include:
- 20mm x 45mm (available in Western Red Cedar, Thermo Ayous, Iroko, and Far Eastern Hardwood)
- 18mm x 42mm (available in Douglas Fir and European Larch)
- 20mm x 70mm (available in Western Red Cedar, Thermo Ayous, and Far Eastern Hardwood)
- 18mm x 68mm (available in Douglas Fir and European Larch)
- 20mm x 95mm (available in Western Red Cedar, Thermo Ayous, Thermowood Pine and Far Eastern Hardwood)
- 18mm x 94mm (available in Douglas Fir)
While these are the popular sizes, there are many profiles to choose from, all naturally durable and ideal for outdoor use.

Step 3: Tools & Materials You’ll Need
- Fence posts
- P.A.R battens
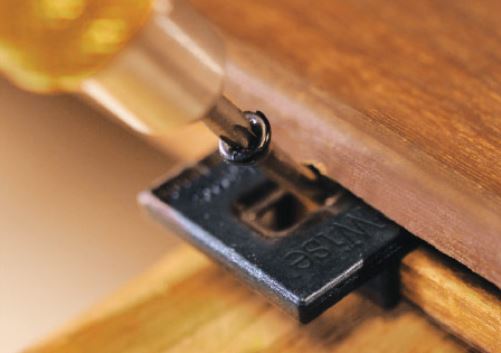
- Fixings (stainless steel recommended)
- String line
- Drill/Electric screwdriver
- Spirit level + tape measure
- Spacer blocks
- Postcrete or concrete (for fence posts)
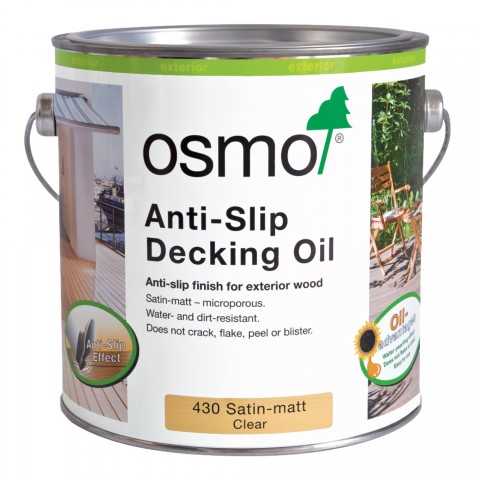
- Timber oil or UV protection (optional)
Step 4: Set Your Fence Posts
- Dig post holes at least 600mm deep for a 1.8m-high fence.
- Set posts in place using postcrete or concrete.
- Use a level and string line to ensure everything is aligned.
- Let posts cure fully before attaching any timber.
Tip: Leave a small clearance at the bottom of the fence to avoid moisture damage.

Step 5: Fix Your Battens
- Begin from one end of the fence and work across.
- Use spacer blocks to maintain even gaps between battens.
- Always pre-drill near the ends of battens to avoid splitting.
- Use a single fixing on 45mm and under, and two fixings across the width per batten for sizes 68mm and over to prevent twisting over time.
Step 6: Protect and Finish (optional)
Your timber doesn’t require treatment! In fact, many opt to not treat and allow the timber to weather beautifully to a silver-grey, but applying a UV-protective oil can help maintain their rich tones and prolong lifespan.

Ready to Build?
Whether you’re a first-time DIYer or a professional looking for quality materials, building a timber fence with P.A.R battens offers a clean, modern result that’s built to last. With the right planning and premium timber from Southgate Timber, you’ll not only improve your outdoor space but create something that adds lasting value and character to your property. Need help choosing the right battens or finish? Our team is here to guide you every step of the way.
General
Recommended for you
View all
General
Knowledge is Power
August 23, 2021
General
All Stocked Up
February 18, 2021

General
Rising to the challenge
February 09, 2021